How to remove mold from bathroom surfaces effectively is a challenge many homeowners face due to constant humidity and poor ventilation. These dark spots are not just an eyesore; they represent a biological colony that can impact indoor air quality and respiratory health. Understanding the nature of fungal growth is the first step toward reclaiming your sanctuary. Most species thrive in the damp corners of your shower or behind the toilet where moisture lingers. If you notice a persistent musty odor, it is likely that spores are already multiplying in hidden crevices as noted by the customreceipt.com.
What Causes Bathroom Mold?
Humidity is the primary culprit behind fungal outbreaks. When warm steam from a hot shower meets cold surfaces like tiles or mirrors, it creates condensation.
This liquid provides the perfect hydration for dormant spores to activate. Without a proper exhaust fan, this moisture remains trapped in the room for hours. Many bathrooms lack windows, which means there is no natural light or fresh air to dry out the space. Natural light contains UV rays that act as a mild, natural disinfectant against microorganisms. Standing water is another significant factor. Water that pools in the corners of a fiberglass tub or on a flat windowsill creates a miniature ecosystem for spores. Over time, these small puddles penetrate deep into porous materials.
Warm temperatures facilitate rapid growth. Most household fungi prefer temperatures between 60 and 80 degrees Fahrenheit. In a closed, heated bathroom, you are essentially running a laboratory for microbial expansion.
“Mold is a silent tenant that never pays rent but always leaves a mess.”
Safety Precautions Before Cleaning Mold
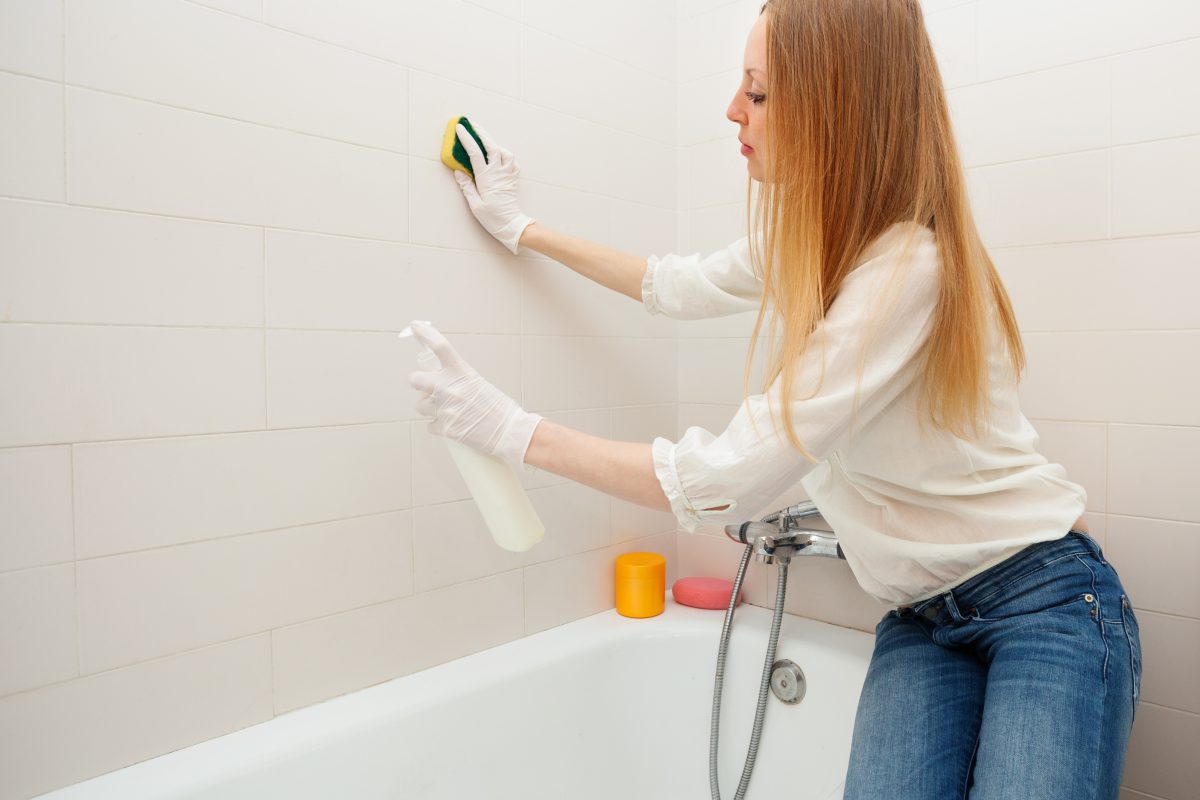
Safety must come first whenever you deal with fungi. Spores can become airborne during the scrubbing process, making them easy to inhale. This can lead to allergic reactions or more severe respiratory issues for sensitive individuals. Always wear rubber gloves, a high-quality N95 mask, and protective eyewear. Ensure the bathroom door is open and the window is cracked to allow cross-ventilation.
This helps dissipate the fumes from cleaning agents and prevents spore concentration in the air.
If the affected area exceeds 10 square feet, do not attempt a DIY fix. Large-scale infestations often indicate structural issues or leaks behind the walls. In such cases, professional remediation is necessary to ensure the source is permanently removed.

Best Mold Cleaning Solutions
Choosing the right chemical or natural agent depends on the surface and the severity of the growth. While some prefer heavy-duty chemicals, others opt for eco-friendly alternatives that are safer for children and pets. Below is a breakdown of the most effective solutions used by professionals and homeowners alike.
| Solution | Mix | Best For | Dwell Time |
| White Vinegar | Undiluted | Porous surfaces | 60 minutes |
| Bleach | 1:10 water ratio | Non-porous surfaces | 10 minutes |
| Hydrogen Peroxide | 3% concentration | Grout and tiles | 15 minutes |
| Baking Soda | Paste with water | Heavy scrubbing | 30 minutes |
Vinegar is highly effective because its acidity can penetrate porous materials to reach the roots of the fungus. Bleach, while powerful, often only kills the surface growth and can actually encourage deeper growth on wood or drywall. Hydrogen peroxide is a great bubbling agent that lifts debris out of tight spots. Baking soda not only cleans but also deodorizes the space effectively.
Using a commercial cleaner is often the easiest route for those who want a ready-made formula with added surfactants. These products are formulated to cling to vertical surfaces.
Step-by-Step Mold Removal by Surface
Dealing with mold in shower areas requires a systematic approach because different materials react differently to moisture and chemicals.
Tile and Grout
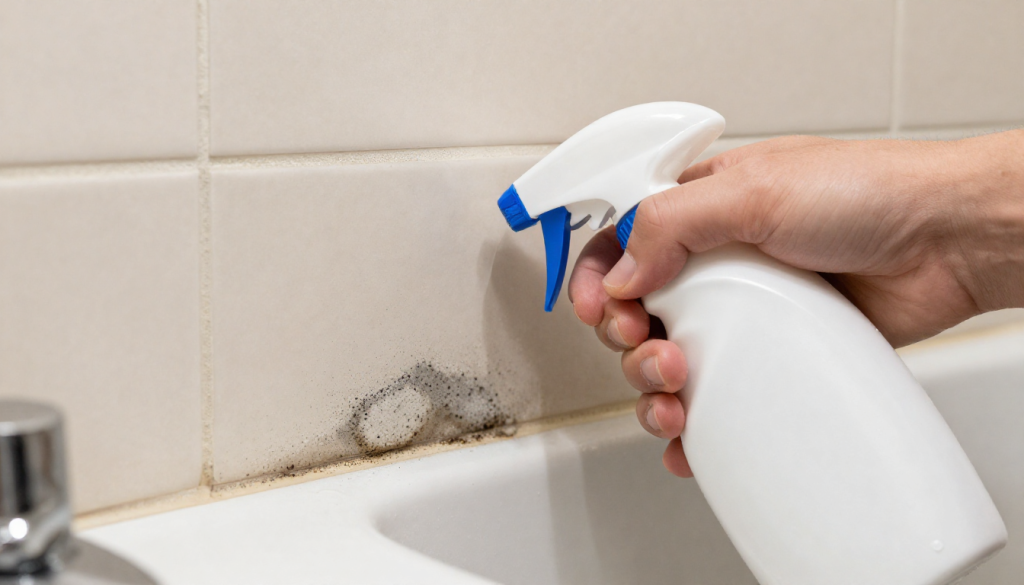
Start by spraying your chosen solution directly onto the tiles. Let it sit for the recommended dwell time to ensure the spores are neutralized. Use a stiff-bristle brush to clean mold from grout lines where the fungus often hides deep within the cement.
Rinse the area thoroughly with warm water and wipe it dry with a microfiber cloth.
Shower Caulk and Silicone
If you notice black mold bathroom spots appearing behind the clear silicone, the infestation is likely internal. Cleaning the surface won’t help if the mold is growing underneath the sealant.
In this case, it is best to remove the old caulk with a utility knife. Clean the gap thoroughly, let it dry for 24 hours, and then apply new, mold-resistant silicone.
Ceiling
Cleaning the ceiling requires extra caution to avoid getting chemicals in your eyes. Use a sturdy step stool and work in small sections.
Spray the solution onto a sponge or cloth rather than directly onto the ceiling to prevent dripping. Gently wipe the surface and ensure the room remains ventilated until the ceiling is completely dry. This prevents the inhalation of falling particles.
Shower Curtain
Most fabric shower curtains can be tossed into the washing machine with a few old towels and a cup of vinegar.
If you use a plastic liner that is heavily covered in orange or black spots, it is often more hygienic to replace it. Regular washing prevents the buildup of soap scum, which acts as food for fungi. This simple maintenance task extends the life of your bathroom accessories.
Preventing Mold from Coming Back
Consistency is the enemy of fungus. Once you have cleaned the area, you must change the environment to ensure the spores do not return.
- Always run the exhaust fan during your shower and for at least 20 minutes afterward.
- Use a squeegee to remove excess water from the shower walls and glass doors immediately.
- Fix any leaky faucets or dripping showerheads to eliminate constant moisture sources.
- Leave the bathroom door or window open when the room is not in use.
- Apply a coat of mold-resistant paint to the ceiling and walls for an extra layer of protection.
- Clean the bathroom weekly with a mild disinfectant to catch new growth early.
- Avoid leaving wet towels in a heap on the floor; hang them up to dry properly.
- Check under the sink regularly for hidden pipe leaks that could fuel bathroom mold removal needs in the future.
These habits take only a few seconds but can save you hours of scrubbing later. Many people find that a small dehumidifier placed in a windowless bathroom works wonders. High-quality ventilation systems are an investment in the longevity of your home’s structure. Regular checks of your plumbing ensure no slow leaks are feeding the mold. Preventing growth is always easier than removing an established colony.
FAQ
How do I know if the mold is toxic?
Most household mold is not the “toxic black mold” (Stachybotrys chartarum), but all mold should be treated as a health risk. If you feel ill, consult a professional for testing.
Can I just paint over the mold?
Never paint over active growth. The fungus will continue to eat the drywall or wood underneath, eventually causing the paint to bubble and peel away.
Is bleach better than vinegar?
For non-porous surfaces like glass, bleach is fast. However, vinegar is generally better for long-term removal on porous surfaces because it kills the “roots.”
Learning how to remove mold from bathroom environments is a vital skill for maintaining a healthy home. By identifying the causes—such as high humidity and poor airflow—you can tackle the problem at its source. Remember to prioritize safety by using masks and gloves, and choose the right cleaning agent for your specific surfaces. Consistent maintenance and moisture control will keep your bathroom sparkling and safe for years to come.
Earlier we wrote about How to Get Rid of Fruit Flies: Fast and Effective Methods