Dry, rubbery chicken breast is the most common frustration in home kitchens worldwide. You follow the recipe, watch the clock, and somehow still end up with something that tastes like seasoned cardboard. The problem isn’t your skills — it’s that chicken breast is genuinely one of the most unforgiving cuts of meat to cook properly. Once you understand the actual science behind it, cooking a juicy chicken breast becomes almost foolproof. As noted by the editors at customreceipt.com, mastering a few key techniques transforms this everyday protein into something genuinely delicious.
It’s extremely lean, with almost no fat to protect it from heat.
Why chicken breast dries out (and how to prevent it)
Chicken breast is made almost entirely of fast-twitch muscle fibers. When exposed to heat, the proteins — primarily myosin and actin — denature and squeeze out moisture like a wrung sponge. Myosin starts denaturing around 150 degrees Fahrenheit, and actin kicks in above 160, which is where the real damage happens.
Carryover cooking is the silent killer most home cooks ignore completely.
Even after you pull the chicken off heat, the internal temperature continues rising — sometimes by 5 degrees or more. That’s why you should remove the breast from heat at 160°F, not 165°F. It’ll coast to the safe zone on its own, finishing safely without drying out. Brining restructures the muscle fibers slightly, allowing the meat to hold significantly more moisture during cooking. Even a 30-minute dry brine makes a measurable, visible difference on the plate.
Essential preparation steps
Pound to even thickness
A raw chicken breast is thicker at one end and tapers to almost nothing at the other — this is the root cause of uneven cooking.
Place the breast between two sheets of plastic wrap and use a meat mallet or rolling pin to flatten it to a uniform thickness of about three-quarters of an inch. The thinner end won’t overcook while the thick center struggles to reach temperature.
Dry brine method
Generously salt both sides. Let it sit uncovered in the fridge for anywhere from 30 minutes to 24 hours. The salt draws moisture to the surface, dissolves, then gets reabsorbed deep into the muscle along with the seasoning itself — producing a tender chicken breast that’s seasoned from the inside out, not just on the surface.
Bring to room temperature
Take the chicken out of the fridge 15 to 20 minutes before cooking.
Cold meat hitting a screaming hot pan creates an uneven temperature gradient that almost guarantees an overdone exterior and an underdone center.
4 best methods to cook chicken breast
Method 1 — pan-seared
Heat an oven-safe skillet — ideally cast iron — over medium-high heat until very hot. Add a high-smoke-point oil like avocado or grapeseed oil, then lay the breast in the pan. Do not touch it. Leave it alone for six to eight minutes and let the crust build. Flip once, transfer the entire skillet to a 400°F oven for another six to eight minutes, then finish with a knob of butter, tilting the pan and spooning the hot fat over the top repeatedly.
This is the pan-seared chicken breast method that restaurants rely on — the stovetop crust plus oven-finish combination is hard to beat for flavor and texture.
Method 2 — oven-baked
Preheat to 425°F. Higher heat means faster cooking, which means less time for moisture to escape from the meat. Place the breast on a rimmed baking sheet, drizzle with olive oil, season generously, and bake 18 to 22 minutes depending on thickness. Rest five minutes before slicing — no exceptions.
Baked chicken breast is the most hands-off approach, ideal when you’re cooking multiple pieces at once.
Method 3 — poached
Bring a pot of well-seasoned liquid — chicken broth, garlic, peppercorns, a bay leaf — to a bare simmer, never a full boil. Submerge the breast completely and cook 15 to 18 minutes at a gentle, lazy simmer.
The result is extraordinarily moist meat, perfect for salads, sandwiches, and weekly meal prep. Visually modest, texturally exceptional.
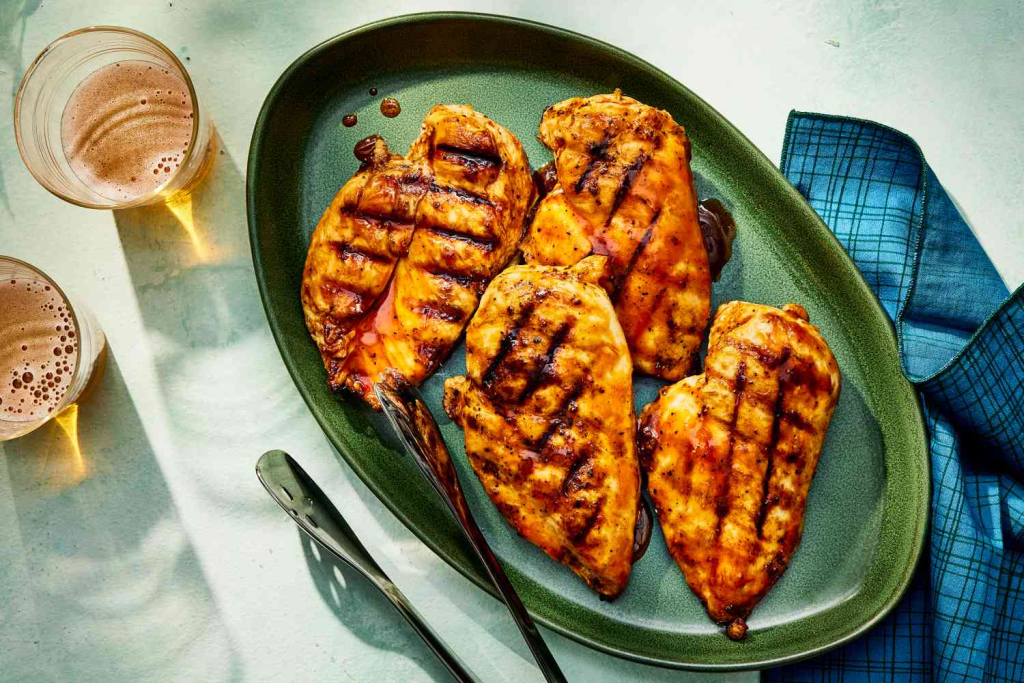
Method 4 — grilled
Preheat the grill to medium-high and oil the grates well. Grill six to seven minutes per side, lid down, without repositioning. Let it rest five minutes off the heat before cutting.
Here’s a side-by-side look at all four approaches:
| Method | Temperature | Time | Best for | Difficulty |
|---|---|---|---|---|
| Pan-seared | 400°F oven finish | 12–16 min total | Weeknight dinners | Medium |
| Oven-baked | 425°F | 18–22 min | Batch cooking | Easy |
| Poached | Gentle simmer | 15–18 min | Salads, shredding | Easy |
| Grilled | Medium-high | 12–14 min total | Summer, outdoors | Medium |
Each method suits a different context. The pan-seared technique delivers the most restaurant-quality result, while poaching is the most forgiving for beginners who are still learning how to cook chicken breast without stress. Grilling adds a smoky dimension that neither oven nor stovetop can replicate. Poaching, meanwhile, produces the softest texture of all four — quietly impressive.
How to know when chicken breast is done
A meat thermometer is not optional. Insert it into the thickest part of the breast, avoiding any bone, and pull the meat from heat at 160°F. That single habit eliminates guesswork entirely. Visual cues help but shouldn’t be your only guide. Properly cooked chicken turns from translucent pink to uniformly opaque white. The juices, when you pierce the meat, run clear — not pink, not cloudy.
“Cutting into chicken to check doneness is the last resort, not the first instinct — every cut releases the juices you worked so hard to keep inside.”
If you must cut, do it at the thickest point and look for uniform opaque color with no raw pink visible. But reach for the thermometer first, every time.
10 tips for perfect chicken breast
Small habits repeated consistently separate reliably juicy chicken from the dry, forgettable kind. These ten rules cover everything from prep to plate:
- Always dry brine with salt at least 30 minutes before cooking.
- Pound the breast to an even three-quarter-inch thickness.
- Let the meat reach room temperature before it hits heat.
- Use a meat thermometer — every single time, without exception.
- Remove from heat at 160°F and let carryover cooking finish the job.
- Rest the breast for a minimum of five minutes before slicing.
- Never move the breast while searing — let the crust develop undisturbed.
- Use a cast iron skillet for superior heat retention and even crust formation.
- Baste with butter in the final two minutes of pan cooking.
- Season more aggressively than feels comfortable — lean meat needs it.
Following even six of these ten steps will put your chicken breast recipe in a completely different league than what most home cooks produce on a typical weeknight.
Easy chicken breast seasoning ideas
You don’t need a long ingredient list to make chicken breast taste genuinely memorable. Salt, a fat, an acid, and one or two aromatics — that’s the formula.
- Lemon herb — olive oil, lemon zest, thyme, rosemary, garlic. Bright, clean, works with every cooking method.
- Garlic parmesan — grated parmesan, garlic powder, butter, parsley. Rich and savory, best pan-seared.
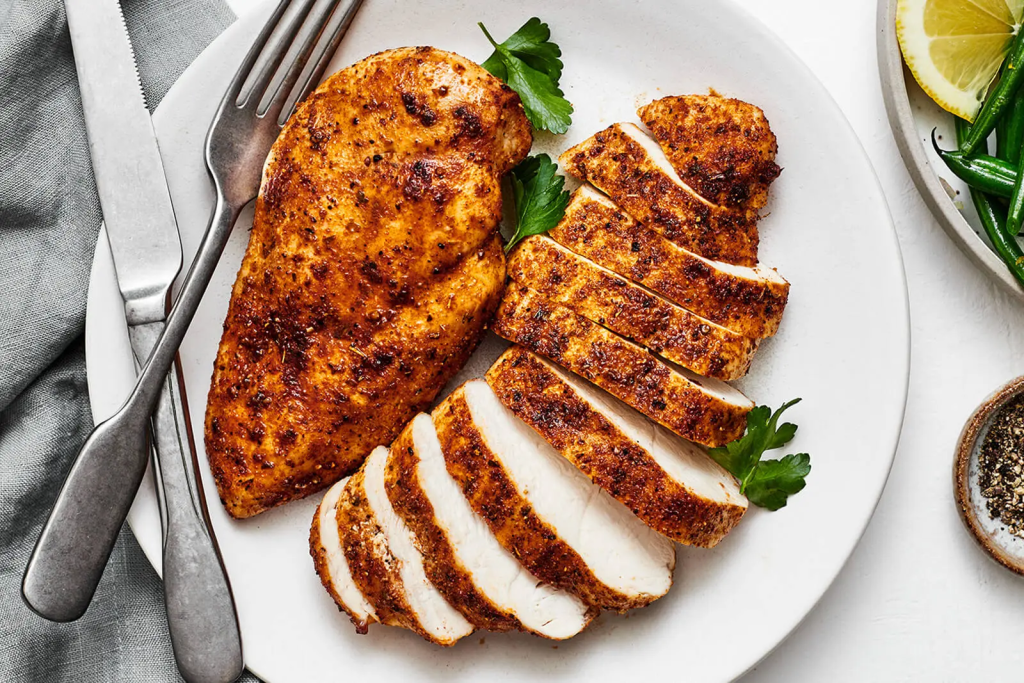
- Cajun spice — smoked paprika, cayenne, onion powder, oregano, thyme. Bold heat with serious depth.
- Teriyaki glaze — soy sauce, mirin, honey, ginger. Brush on during the last few minutes to caramelize without burning.
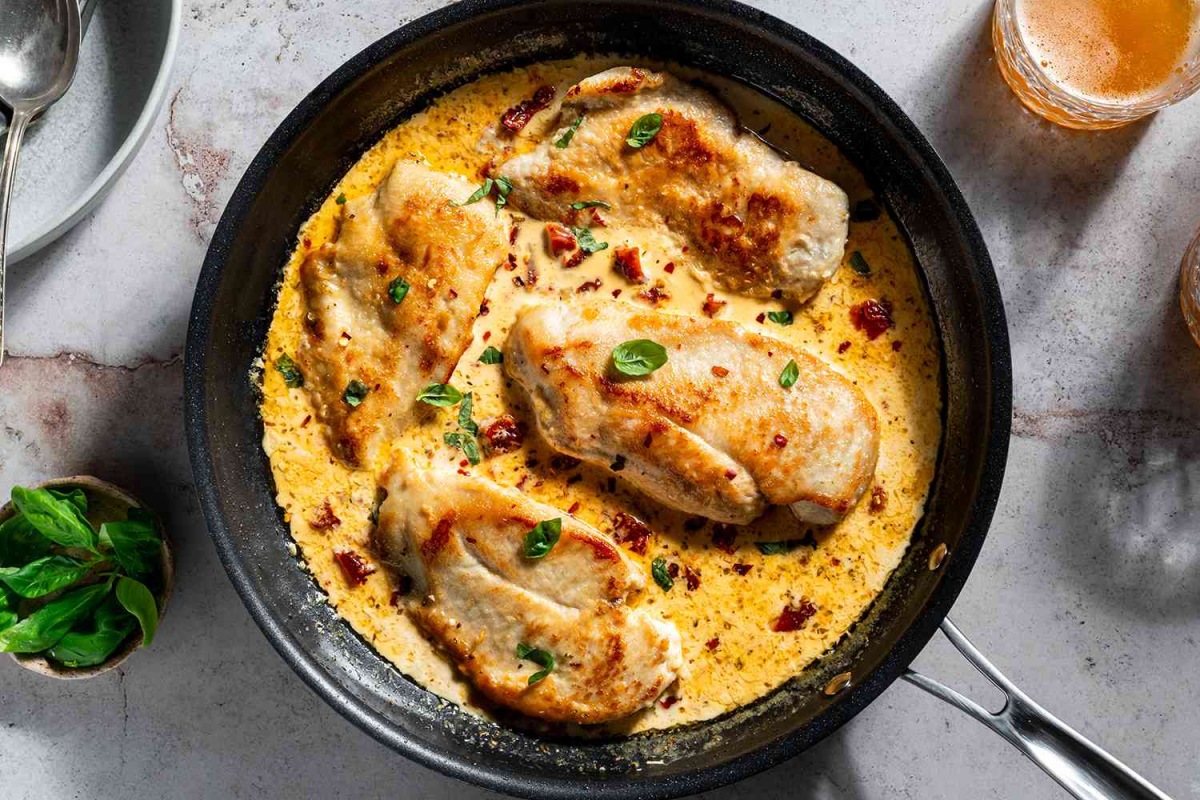
- Mediterranean — lemon, olive oil, oregano, sun-dried tomatoes, olives. Roast everything together in one pan.
- Mexican blend — cumin, chili powder, lime juice, garlic. Outstanding for tacos, grain bowls, or quesadillas.
The Cajun and Mexican blends hold up especially well on the grill, where the charred edges amplify every spice note.
FAQ
How long does it take to cook chicken breast?
Depending on method and thickness: 12 to 16 minutes pan-seared, 18 to 22 minutes oven-baked, 15 to 18 minutes poached, and 12 to 14 minutes grilled.
What internal temperature is safe for chicken breast?
The USDA recommends 165°F as the final internal temperature. Remove from heat at 160°F — carryover cooking closes the gap safely.
Should I cover chicken breast when baking?
Covering traps steam and produces a softer, moister texture. Uncovered gives better browning. For the best of both, cover for the first two-thirds of bake time, then uncover to finish.
Can I cook chicken breast from frozen?
You can, but results are inferior. Frozen breast takes 50% longer and cooks unevenly. Thaw overnight in the fridge whenever possible — it takes no active effort and makes a real difference.
Why is my chicken breast always dry even when I follow a recipe?
Most recipes don’t account for the massive size variation in commercially sold breasts. A thick supermarket breast needs significantly more time than a recipe written for a small one. Verify always with a thermometer — never rely on time alone.
How long can cooked chicken breast be stored?
Up to four days in an airtight container in the refrigerator, or up to three months in the freezer.
Chicken breast doesn’t have to be a gamble. The difference between dry and juicy chicken breast comes down to preparation — pounding, brining, temperature control — not luck or natural talent. Pick one method from this guide, apply the preparation steps, and use a thermometer without fail. Once you’ve done it right a single time, how to cook chicken breast stops being a question and becomes pure instinct.
Earlier we wrote about How to Cook Quinoa: Simple Method for Fluffy Results