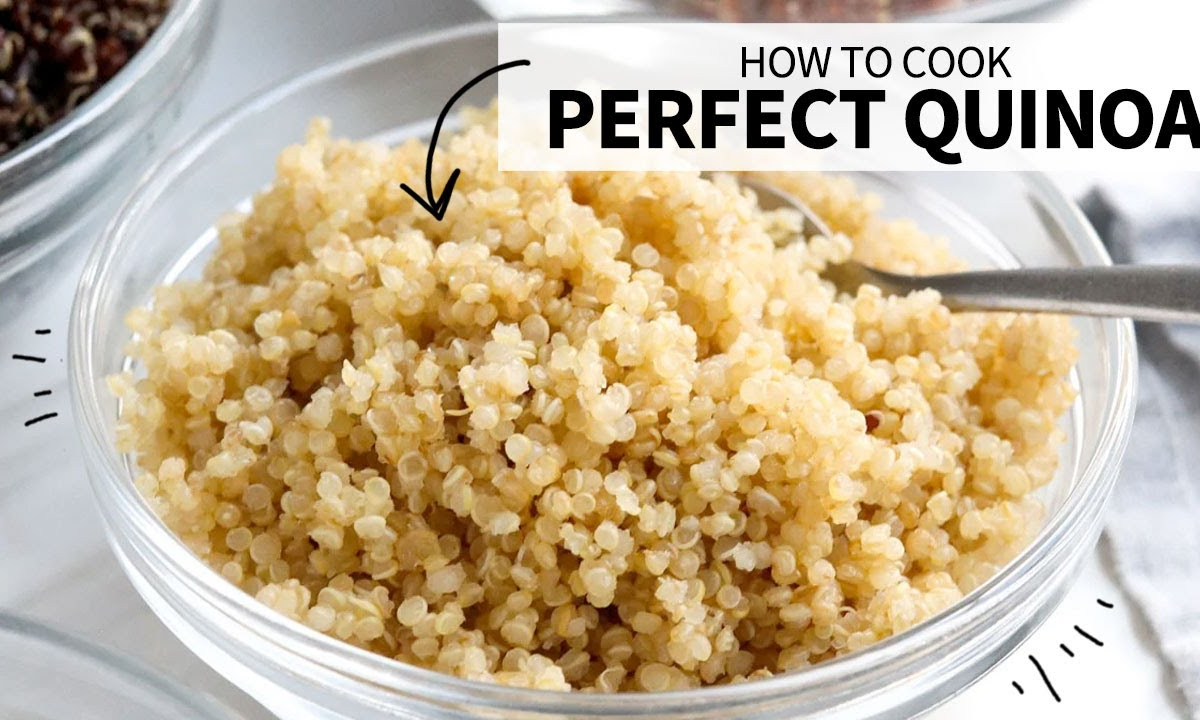
How to cook quinoa is the ultimate challenge for home cooks who want to elevate their healthy meal prep. While this ancient Andean seed is celebrated as a protein-rich superfood, most people end up with a soggy mess that tastes vaguely of soap. Achieving a light, airy texture requires a precise understanding of moisture and heat management. By mastering a few simple adjustments, you can transform this humble ingredient into a gourmet base, as noted by the customreceipt.com.
What Is Quinoa and Why Is It So Healthy?
Originating from the high-altitude regions of the Andes, quinoa has been a dietary staple for thousands of years.
Unlike most grains, it is a complete protein, containing all nine essential amino acids.
In the supermarket, you will likely encounter three main varieties: white, red, and black. White quinoa is the most common and has the mildest flavor, making it the perfect entry point for beginners. Red and black varieties tend to hold their shape better after cooking, offering a heartier, crunchier bite. Nutritionally, all colors are relatively similar, though the darker husks contain slightly more antioxidants. Comparing these tiny seeds to traditional white rice reveals significant benefits for your daily diet.
| Nutrient (per 1 cup cooked) | Quinoa | White Rice | Brown Rice |
| Calories | 222 | 205 | 218 |
| Protein | 8g | 4g | 5g |
| Fiber | 5g | 0.6g | 3.5g |
| Iron | 2.8mg | 1.9mg | 0.8mg |
The higher mineral content makes it a superior choice for those looking to improve their health.
Because it cooks faster than brown rice, it is also a more convenient option for busy weeknights. You get the fiber benefits of a whole grain without the forty-minute wait time. It is truly the king of the pantry for anyone focused on longevity.
Why You MUST Rinse Quinoa
The most common reason people dislike this grain is a lingering bitter aftertaste. This bitterness comes from a quinoa rinse necessity that many skip.
Saponins are naturally occurring chemicals that coat each seed to protect it from insects in the wild. While they aren’t harmful, they taste remarkably like soap and can be quite jarring if not removed properly before the heat is applied.
Always use a fine-mesh strainer because the seeds are small enough to slip through standard colanders. Even if a package claims the product is “pre-washed,” a quick secondary rinse at home is highly recommended to be safe. It takes less than thirty seconds but ensures a clean, neutral palette for your seasonings. Simply run cold water over the seeds while rubbing them gently with your hand until the water runs clear. This step is the first major milestone in your journey of cooking quinoa like a professional chef.
Perfect Quinoa Cooking Method
Achieving that restaurant-quality finish is surprisingly easy once you ignore the confusing instructions on the back of most boxes.
The most important factor is the quinoa water ratio, which many sources incorrectly list as 1:2. In reality, a ratio of 1 part quinoa to 1.75 parts liquid prevents the grain from becoming soggy. This slight reduction in water makes a massive difference in the final mouthfeel of the dish.
Step 1 — Rinse quinoa in fine-mesh strainer
As discussed, wash away the saponins thoroughly.
Let the excess water drain for a minute so you don’t throw off your liquid measurements.
Step 2 — Toast in dry pan for 2 minutes
This is a “chef’s secret.” Toss the damp seeds into your cooking pot over medium heat for two minutes before adding water.
Step 3 — Add water and bring to boil
Pour in your liquid and a pinch of salt. For more depth, you can use vegetable or chicken broth instead of plain tap water to add layers of flavor.
Step 4 — Reduce heat, cover, simmer 15 minutes
Once the water reaches a rolling boil, turn the heat down to the lowest possible setting. Cover the pot with a tight-fitting lid to trap every bit of steam inside.
Step 5 — Remove from heat and rest
This is the part most people skip. After 15 minutes, remove the pot from the burner but do not open the lid for another five minutes.
Step 6 — Fluff with fork
Finally, remove the lid and use a fork to gently lift and separate the grains.
You will see little “tails”—which are actually the germs of the seeds—indicating they are perfectly cooked.
Quinoa Cooking Tips
- Never stir the pot while it is simmering, as this breaks the seeds and releases starches.
- Use a wide pot rather than a deep, narrow one to allow for better steaming.
- If the liquid is gone but the grains still look “white,” add one tablespoon of water.
- Season your cooking liquid with aromatics like garlic cloves or bay leaves.
- Consider the “absorption method” described above as the gold standard for home use.
- If making a cold salad, spread the cooked grains out on a baking sheet to cool.
- To achieve fluffy quinoa every time, ensure your lid is truly airtight.
“The resting period is not just a suggestion; it is the moment the remaining moisture is redistributed.”
The resting phase allows the steam to finish the job without making the bottom layer mushy. Skipping this step usually results in unevenly cooked seeds. If you follow this rule, your grain will be perfectly separated and light.
Easy Quinoa Recipes
Once you have mastered the base, the possibilities for your meals are endless.
A classic Mediterranean salad with diced cucumber, cherry tomatoes, and feta cheese is a refreshing lunch staple. The grains soak up the lemon-tahini dressing beautifully without becoming soft or losing their integrity.
For those who prefer a warm start, a breakfast bowl is a great alternative to oatmeal. Top your warm grains with almond milk, blueberries, a drizzle of honey, and some toasted walnuts. It provides a much higher protein count than traditional cereal. You can also use it as a substitute in a quinoa recipe for fried rice or stir-fry. Since the grains are already “dry” after the resting period, they crisp up beautifully in a wok with soy sauce.
Storing and Reheating Quinoa
Batch cooking is a smart way to save time during a busy week. Cooked grains will stay fresh in an airtight container in the refrigerator for up to five days.
This makes it easy to scoop out a portion for a quick salad.
If you have made too much, you can also freeze it. Spread the cooled grains on a tray to freeze individually first, then transfer them to a freezer bag for storage. It can be stored this way for up to two months without any loss in quality. When you are ready to eat, reheating is simple. Use a microwave-safe bowl and add a tiny splash of water or a damp paper towel over the top to create steam.
FAQ
Can I cook quinoa in a rice cooker?
Yes, use the same 1:1.75 ratio and the “white rice” setting.
Is quinoa a grain or a seed?
Technically, it is a “pseudocereal”—a seed that is prepared and eaten like a grain.
Why is my quinoa still crunchy?
It likely needs a few more minutes of steaming or a tiny bit more liquid.
Does quinoa go bad?
Dry quinoa lasts for 2 to 3 years. Once cooked, follow the 5-day fridge rule.
Can I eat quinoa raw?
It is not recommended, as it is very hard to digest.
Is it better than oats?
It has more protein and a different nutrient profile.
Mastering how to cook quinoa is a fundamental skill that opens the door to hundreds of healthy meals. Whether you are using it for a protein boost or just looking for variety, the key remains the same: rinse, toast, and let it rest. It is an investment in your culinary repertoire that pays off with every bite.
Earlier we wrote about How to Make Waffles at Home: Crispy Golden Recipe