How to cook rice on the stove is a fundamental culinary skill that remains a mystery to many, despite rice being a primary energy source for over half of the global population. Whether you are aiming for a side of airy Basmati or a bowl of sticky Jasmine, the difference between a culinary triumph and a gummy disaster often comes down to a few milliliters of water or a single lift of the pot lid. Many home cooks struggle with results that are either frustratingly crunchy or unappealingly mushy, yet the process is governed by simple physics and patience.
By understanding the specific needs of different grains and mastering the steam-absorption method, you can transform this humble pantry staple into a high-quality accompaniment for any meal, as noted by the editorial team at customreceipt.com.
Understanding Different Types of Rice
Before you even turn on the burner, you must recognize that not all grains are created equal.
The starch content, specifically the ratio of amylose to amylopectin, determines whether your dinner will be light and separate or thick and clumpy. Selecting the right variety is the first step toward a perfect rice recipe that complements your specific dish.
| Rice Type | Water Ratio (rice:water) | Cook Time | Resting Time | Texture |
| Long-grain white | 1:1.5 | 15 min | 5 min | Fluffy, separate grains |
| Jasmine | 1:1.25 | 12 min | 10 min | Slightly sticky, aromatic |
| Basmati | 1:1.5 | 15 min | 5 min | Long, separate, fragrant |
| Short-grain white | 1:1.25 | 15 min | 10 min | Sticky, clumpy |
| Brown rice | 1:2.5 | 45 min | 10 min | Chewy, nutty |
| Wild rice | 1:3 | 50 min | 10 min | Firm, earthy |
The variations in these ratios exist because of the physical structure of the grain.
Brown rice, for instance, retains its fibrous bran layer, which acts as a barrier to moisture and requires significantly more time and water to soften effectively. Conversely, polished white varieties have had this layer removed, making them far more susceptible to overcooking if the rice water ratio is not strictly maintained.
Once you have selected your grain, ensure you use a standardized measuring cup for both the rice and the liquid. Even a slight deviation in the volume of water can lead to a texture that is either too firm or overly saturated.
Should You Rinse Rice Before Cooking?
The short answer is a resounding yes for almost every variety you will encounter in a standard pantry.
Rinsing serves the vital purpose of removing excess surface starch that naturally accumulates during the milling and packaging process. If left on the grain, this starch gelatinizes in the boiling water, turning your pot into a sticky, gummy mess instead of producing fluffy rice.
To do this correctly, place your measured grains in a fine-mesh strainer and hold it under a stream of cold running water. Agitate the rice gently with your fingers for about 30 seconds until the water transitioning through the mesh runs clear. Always check the packaging for specific manufacturer instructions as some enriched varieties shouldn’t be rinsed. There are, however, two notable exceptions to this rule. Enriched rice, commonly sold in the United States, is often coated with powdered nutrients that will be lost if rinsed. Additionally, for dishes like risotto or paella, you actually require that surface starch to create the signature creamy sauce, so skipping the rinse is essential there. A well-drained grain ensures that the total liquid in the pot remains exactly what you measured. This prevents any hidden moisture from ruining the final consistency of your dish.
The Foolproof Stovetop Rice Method
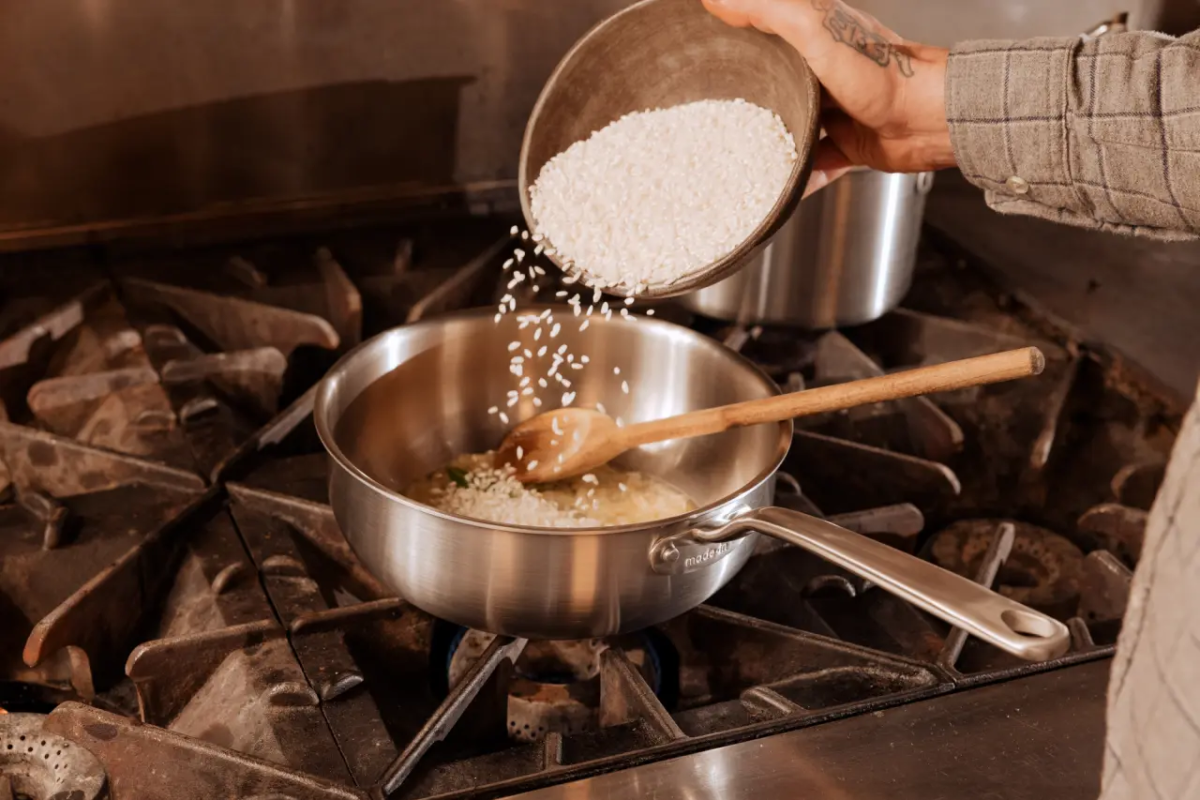
Step 1 — Measure and Rinse
Begin by measuring exactly one cup of dry rice, which typically serves two to three people as a generous side dish. Follow the rinsing procedure mentioned above to strip away the dust and surface starches. Drain it thoroughly before proceeding.
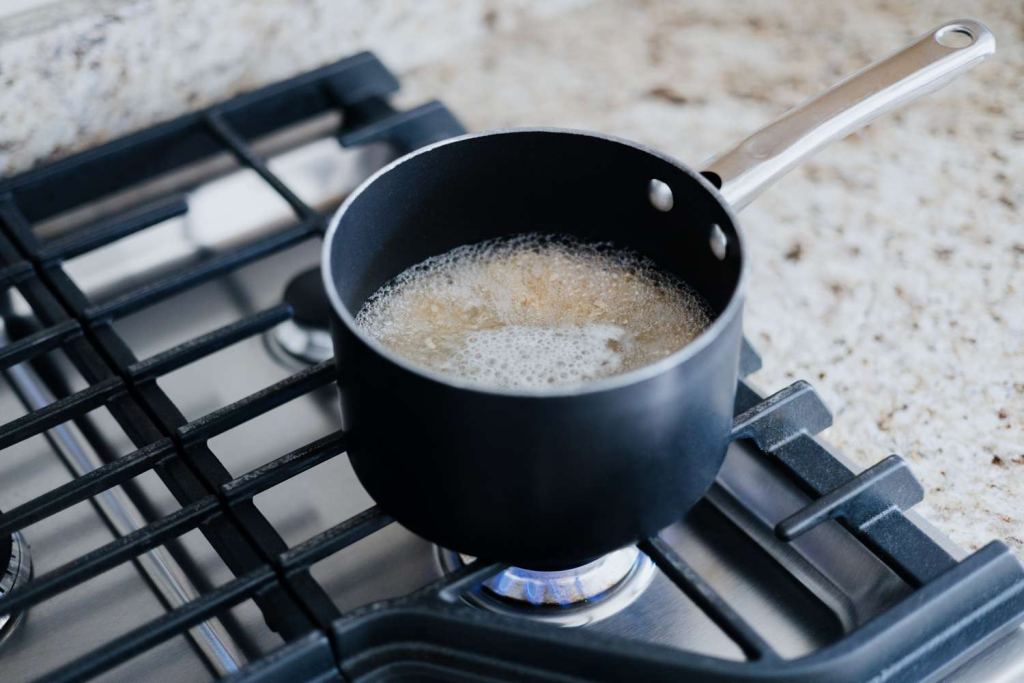
Step 2 — Boil Water
In a medium saucepan with a heavy, tight-fitting lid, bring your precisely measured water to a rolling boil.
Adding a half teaspoon of salt and a small knob of butter can enhance the flavor profile and help prevent the grains from clumping together.
Step 3 — Add Rice and Reduce Heat
Gently slide the rinsed grains into the boiling water and give the mixture exactly one stir to ensure no rice is stuck to the bottom. Immediately reduce the heat to the lowest possible setting to maintain a very gentle simmer. Covering the pot with a tight lid is non-negotiable at this stage because the trapped steam is what actually cooks the core of the grain.
Step 4 — Cook Covered
Maintain the heat and resist every urge to “peek” or check the progress. Every time you lift the lid, the internal temperature drops and vital steam escapes, which is the most common reason people fail at how to cook rice on the stove.
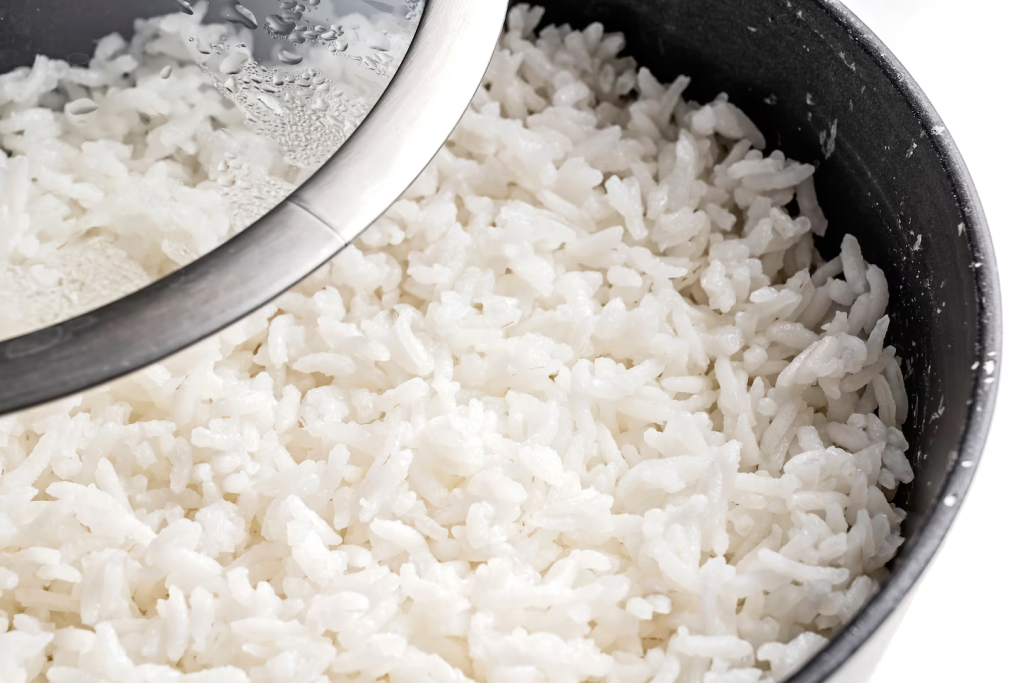
Step 5 — Rest and Fluff
After the timer sounds, remove the pot from the burner but do not open it.
Let the rice sit undisturbed for at least five to ten minutes to allow the moisture to redistribute evenly throughout the pot. Finally, use a fork to gently fluff the grains, as a spoon tends to smash the delicate structure you have worked so hard to preserve. Serving immediately ensures the best heat and texture for your guests.
10 Tips for Perfect Rice Every Time
- Always use a pot with a heavy bottom to ensure even heat distribution.
- Stick to the specific water requirements for each unique grain type.
- Avoid the temptation to stir the rice while it is simmering.
- A fork is your best tool for separating grains without mashing them.
- The resting period is just as important as the actual boiling time.
- Toast the dry grains in a bit of oil before adding water for a deeper flavor.
- Include a bay leaf or a garlic clove in the water for an aromatic boost.
- Soaking Basmati for 30 minutes before cooking can result in extra-long grains.
- Substitute half the water with coconut milk for a rich, tropical twist.
- Remember that one cup of raw rice will expand to roughly three cups of cooked food.
Using high-quality water, such as filtered water, can also subtly improve the final taste.
Many professional chefs prefer using a heavy Dutch oven for larger batches to maintain thermal mass. This allows for a more consistent temperature throughout the long simmering process required for brown rice.
Common Rice Cooking Mistakes
Identifying why a batch failed is the only way to improve your technique for stovetop rice in the future.
| Mistake | Result | Fix |
| Lifting the lid | Unevenly cooked grains | Leave the lid closed until the rest time is over |
| Too much water | A mushy, porridge-like texture | Use the exact measurements provided in the table |
| Too little water | Hard, crunchy centers | Add a splash of water and steam for 3 more minutes |
| High heat | Scorched bottom and raw top | Use the lowest setting once the water boils |
| Skipping the rest | Wet and clumpy rice | Always wait 10 minutes before fluffing |
If you find that your rice consistently burns on the bottom, your “low” setting may still be too high for the size of your pot.
Using a heat diffuser or moving the pot to a smaller burner can often solve this issue without changing your recipe. Trusting your equipment is just as vital as trusting the instructions.
How to Fix Rice That Went Wrong
Even the most experienced cooks occasionally end up with a batch that is less than ideal.
If your rice is too mushy, you can sometimes save it by spreading it out on a baking sheet and placing it in a 350°F oven for a few minutes to evaporate the excess moisture. This technique works best for white rice that hasn’t completely turned into paste.
If the grains are still crunchy after the allotted time, do not panic and add a full cup of water. Instead, sprinkle two tablespoons of hot water over the surface, cover tightly, and let it steam on low for another three minutes. If you happen to burn the bottom, do not stir the pot; simply scoop out the good rice from the top, leaving the scorched layer behind. This prevents the bitter, burnt aroma from permeating the edible portion.
Choosing the Right Pot for Your Rice
The vessel you choose is just as important as the grain itself when learning how to cook rice on the stove.
A pot with a thin bottom will create “hot spots,” leading to those frustrating scorched patches while the top remains raw. Ideally, you should opt for a heavy-bottomed stainless steel or cast-iron saucepan. This ensures that the heat is distributed evenly across the entire base, allowing the water to simmer consistently.
- Check that the lid creates a complete seal to trap every drop of steam.
- Avoid using pots that are too large for the amount of rice you are cooking.
- Transparent glass lids are excellent for monitoring without lifting and breaking the seal.
If the pot is too wide, the water will evaporate before the rice can absorb it. Conversely, a pot that is too small will likely boil over, leaving a starchy mess on your stovetop. Selecting a two-quart saucepan for one to two cups of dry rice is usually the perfect middle ground for most home kitchens.
Troubleshooting the Steam Vent Problem
Many modern lids come with a small vent hole designed to prevent boiling over, but this can be a hidden enemy of fluffy rice.
These vents allow the internal pressure and moisture to escape during the final stages of cooking. To combat this, you can cover the vent with a small piece of foil or use the “towel trick” mentioned previously. By creating a truly airtight environment, you force the moisture back into the grain.
This pressure-cooker effect is what separates professional results from amateur attempts.
“Steam is not just a byproduct of boiling; it is the primary cooking medium in the absorption method.”
Once you master the management of internal pot pressure, you will notice a significant improvement in grain elongation. This is particularly noticeable with premium varieties like extra-long-grain Basmati.
Creative Ways to Season Your Rice
While water and salt are the standard, you can elevate a perfect rice recipe by experimenting with different liquids.
Using a rich chicken or vegetable stock instead of plain water adds a deep savory base that complements meat dishes. For a brighter profile, some chefs add a teaspoon of lime juice and fresh cilantro right after the fluffing stage.
- Saffron threads soaked in a tablespoon of warm water can provide a vibrant yellow hue.
- A cinnamon stick or star anise added during the boil creates a wonderful aromatic experience.
- Coconut water can be used for a subtle, natural sweetness in tropical side dishes.
The key is to ensure that these additions do not alter the overall liquid volume significantly. If you add a splash of lime, subtract a splash of water. This maintains the integrity of the rice water ratio while drastically expanding your flavor repertoire.
Storage and Safety for Cooked Rice
Proper storage is critical because cooked rice is highly susceptible to bacterial growth if left at room temperature.
You should cool your leftover rice as quickly as possible by spreading it out on a tray before refrigerating. This prevents the “clumping” that happens when hot rice is packed into a deep container. Once cooled, it can be kept in an airtight container for up to four days. When you are ready to eat it again, remember that how to make rice taste fresh a second time requires adding moisture. Sprinkling a little water over the rice and covering it during reheating will prevent it from turning into hard, dry pellets. Many people find that leftover rice is actually superior for making fried rice because the grains have had time to firm up. This firm texture allows them to sear in a wok without breaking apart.
Reheating Methods for the Best Texture
Microwaving is the fastest method, but it often leaves the center cold and the edges rubbery.
Instead, try reheating your rice on the stove over low heat with a tight lid and a tablespoon of water. This essentially “re-steams” the rice, bringing back that original fluffiness. If you are in a rush, a damp paper towel placed over the bowl in the microwave can act as a temporary steam trap.
- Place the cold rice in a microwave-safe bowl.
- Add one teaspoon of water per cup of rice.
- Cover with a damp paper towel or a loose lid.
- Heat for 60 seconds, then stir and check the temperature.
- Continue in 30-second intervals until steaming hot.
Never reheat rice more than once, as the repeated temperature changes increase the risk of foodborne illness. By following these safety and reheating protocols, you can enjoy high-quality rice throughout the week without sacrificing texture or health.
Frequently Asked Questions
What is the standard rice-to-water ratio?
For most white rice, the ratio is 1:1.5, meaning one and a half cups of water for every cup of rice.
Why does brown rice take so much longer?
The outer bran layer requires more time to hydrate and soften, usually taking about 45 minutes of active cooking.
Can I reheat leftover rice safely?
Yes, but you must ensure it is steaming hot throughout to kill any bacteria, adding a splash of water before microwaving.
Is it possible to freeze cooked rice?
Absolutely; frozen rice maintains its texture well and can be reheated directly from the freezer for a quick meal.
Should I use a rice cooker instead?
While a cooker is convenient, knowing how to make rice on a stove gives you more control over the texture and allows you to cook anywhere.
Mastering the art of how to cook rice on the stove is a simple journey of precision and restraint. By following these steps and respecting the unique properties of each grain, you ensure that every meal you serve is anchored by a bowl of flawless, steaming rice.
Earlier we wrote about How to Make French Toast: Classic Breakfast Recipe Guide